What the leak looks like from inside
Most owners notice stains first: tan or brown marks on the ceiling, usually near a vent, skylight, air conditioner or the edge of a slide. Others find a wall covering that bubbles, a panel that feels spongy, or a smell that comes back every time it rains. Drips are the late sign. By then water has been getting in for a while.
The stain is often not where the water got in. Water runs along framing and insulation before it shows, so a mark over the bed can start at a seam several feet away. That's why we don't just seal what's directly above the stain.
Seams that look cracked, dried out or pulled away from the edge are worth fixing even if nothing has leaked yet. Sealant that has lost its grip is much cheaper to redo before it costs you a ceiling.
Why sealant fails and what it does to the roof
An RV roof is a skin with a lot of holes and joints in it. Vents, fixtures and seams are all held shut by sealant, and sealant doesn't last forever. Sun, heat and flexing wear it down until it cracks or lifts. Once it does, water gets under it and into the roof structure.
Here in the Valley, a killing freeze ran across the region for several days in mid-February. Swings like that work on tired seams. If your rig sat through it and a stain showed up afterward, that's where we look first.
The longer water sits in the roof, the bigger the repair gets. A job that starts as a few seams can turn into wet material that has to be dealt with before anything gets sealed over.
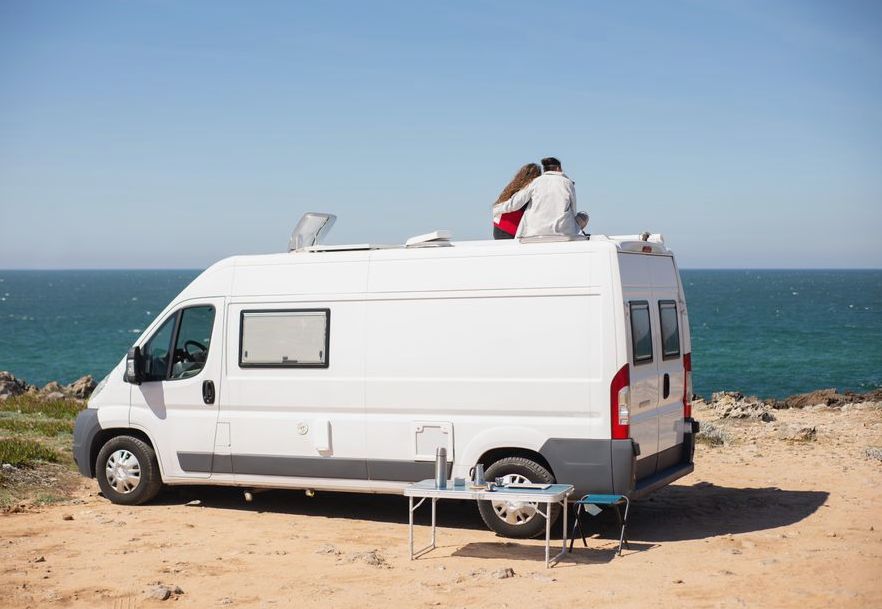
Finding the entry point
We start on the roof and inside. We look at every seam and every sealed fixture and compare what we see to where water showed up below. We work out the likely entry points before we pick up a tube of sealant. Ground here moves with the seasonal wet and dry cycles, so we also note how the rig is parked and sitting.
Looking doesn't always settle it. When it doesn't, we run a controlled water test to find the spot. Some leaks only open up under a specific amount of water at a specific place.
If we find soft or damaged areas, we tell you before sealing. Sealant is not a fix for rotted material, and we won't seal over it.
How the work goes, start to finish
First the roof gets cleaned with a roof cleaner and a soft cloth, because new sealant won't bond to a dirty surface or old residue. Then we deal with the failed sealant at each trouble spot and apply new material with a standard caulking gun.
On vertical surfaces we use a non-sag sealant so it doesn't run before it sets. Sealant that slumps leaves thin spots right where you needed thickness.
When the sealing is done, we test the suspected leak points with water or a pressure-test procedure. If water still finds a way in, we keep working until it doesn't.
Time depends on the roof's size, how much old sealant has to come off, and how many spots need work. Sealant also has to cure before a final test means anything, so we plan for that.
What it costs and what moves the price
For a full reseal or coating of an RV roof, a broad U.S. estimate runs about $400 to $1,500. That's a wide range. A spot repair on a couple of seams sits at a different end than a whole-roof job.
The price goes up with a bigger roof, more fixtures to seal around, and more old sealant to clean away. It goes up again if the water test turns up more than one entry point, or if we find damaged material under the sealant. It comes down when the roof is in decent shape and the leak is one or two spots.
Our written quote lists what's being sealed and what's being tested, so you can see where the money goes.
Requesting service
Call or send a request with your rig's type, where you've seen water, and when it first showed up. Photos of the stains help. If you'd rather not write it all out, just call.
If it's raining and you have a drip, set out a container, move what you can, and call. We'll find the soonest sensible time to look.
Our Process
The specifics usually look like this:
- Inspect the roof sealant for cracks or separation around vents, skylights, antennas, roof edges, and other roof-mounted equipment.
- Check suspect areas for moisture and use a pressure test with a water-based solution to locate escaping air at leak points. https://www.majorsrv.com/roof-inspection-and-check-for-leaks/)
What to Expect to Pay
These are ballpark figures to plan around, and we'll explain what moves a price up or down.
$245–$485
$785–$1250